Linkbar
Friday, July 29, 2011
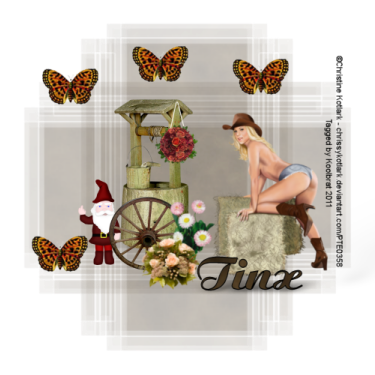
Autumn Days
Autumn Days
I am using the awsome artwork of Christine Kotlark.
You can purchase her artwork here: PTE
Scrapkit"Autumn Falls" by Tinx
Thank you Tinx for the great kit.
You can purchase her kit here: Tinx
You can purchase her artwork here: PTE
Scrapkit"Autumn Falls" by Tinx
Thank you Tinx for the great kit.
You can purchase her kit here: Tinx
Mask of your choice. I used WSL_Mask149
You can get it here:WSL
You can get it here:WSL
Eyecandy 5 Impact
1. Open new image 500 X 500
2. Floodfill with paper2. Go Layers/LoadSaveMask/Load mask from Disk
3. Copy and Paste well. Resize 30%
4. Copy and Paste rose dangle. Resize 30% 2 times and place on the side of the well
5. Copy and Paste wheel and Resize 75%
6. Copy and Paste flowers and Rresize to your liking. I Resized 30% 2 times
7. Copy and Paste flower2 and again Resize to your liking
8. Copy and Paste gnome5 and Resize 30% then Resize 75%
9. Copy and Paste butterfly3 Resize 30%. Then duplicate 4 timesand place to your liking
10.Add your tube Resize to fit the image
11. Add your copyright info and Text
12. With your Text Layer highlighted go:Effects/Plugins/Alien Skin Candy 5/ Impact/
Perspective Shadow. Use these settings: Perspective Shadow checked, 332,
101.37,90,34.32, 169.17,48,Mask Selection
13. Merge Visible and Save
That's it..... I hope you have enjoyed my tutorial. If you have any questions please
feel free to leave a message in the Chatbox.
This tutorial was written July 2011 by me(Koolbrat) any similarities to another is just a coincidence.
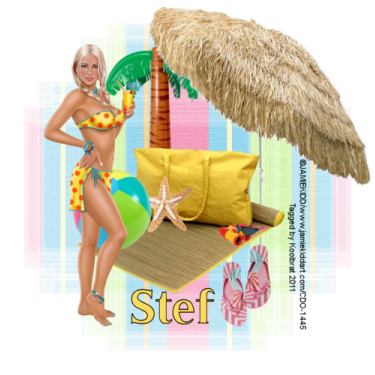
Summer Fantasy
Summer Fantasy
I am using the amazing artwork of Jamie Kidd
You can purchase it here: CDO
You can purchase it here: CDO
Scraptkit "Summer Breeze" by Stef
You can download it for free here: Stef's Scrapkits
Mask of choice. I used WSL_Mask 149
You can get it here: WSL
You can download it for free here: Stef's Scrapkits
Mask of choice. I used WSL_Mask 149
You can get it here: WSL
1. Open new image 500 X 500
2. Floodfill with paper01. Go Layers/LoadSave Mask/Load Mask from Disk
3. Copy and Paste ele11 Resize 30%
4. Copy and Paste ele23 Resize 75%
5. Copy and Paste 09 Resize 30%
6. Copy and Paste ele04 Resize 30%
7. Copy and Paste ele08 Resize 30%
8. Copy and Paste ele27 Resize 30%
9. Copy and Paste ele30 Resize 30%
10.Copy and Paste ele28 Resize 30%
11. Add your tube and resize to your liking
12.Add your copyright info and Text
13. Merge Visible and Save
That's it..... I hope you have enjoyed my tutorial. If you have any questions please
feel free to leave a message in the Chatbox.
This tutorial was written July 2011 by me(Koolbrat) any similarities to another is just a coincidence.
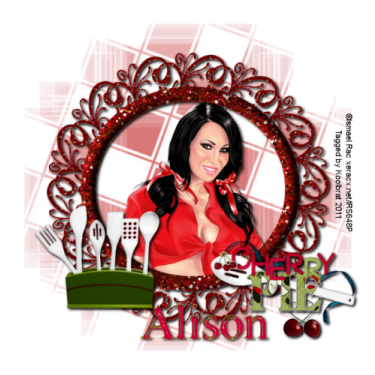
Delicious Cherry
Delicious Cherry
I am using the amazing artwork of Ismael Rac.
You can purchase his work here: Rac
Scraptkit"Cherry Pie" by Alison at HungryHillAnnex
You can purchase it here: SATC
Great kit Alison hun thank you.
Mask of choice. I used WSL_Mask149
You can get it here: WSL
1. Open new image 500 X 500
2. Floodfill with paper1. Go Layers/LoadSave Mask/Load Mask from Disk/ Find your mask
3. Copy and Paste doodle circle and resize 30%. Add Drop Shadow of your choice
4. Copy and Paste your Tube and drag it below your doodle layer
5. Copy and Paste utensil box resize 30% and add Drop Shadow
6. Copy and Paste Cherry Heart and place to your liking. I placed mine on the right hand side
7. Copy and Paste WA Cherry Pie resize 30% and add Drop Shadow
8. Add your copyright info and Text
9. Merge Visible and Save
That's it..... I hope you have enjoyed my tutorial. If you have any questions please
feel free to leave a message in the Chatbox.
This tutorial was written July 2011 by me(Koolbrat) any similarities to another is just a coincidence.
Sunday, July 24, 2011
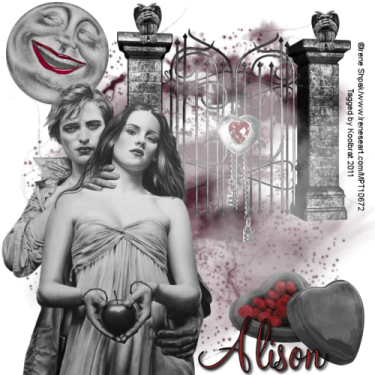
Ghoul Love
Ghoul Love
I am using the amazing artwork of Irene Shpak.
You can purchase it here: MPT
Scrapkit"Whatza Goul to do" By Alison
You can purchase it here: DigiFox
1. Open new image 500 X 500
2. Floodfill with paper 5
3. Go Layers/Load Save Mask/ Load Mask from Disk. Find your mask in the drop
down window
4. Copy and Paste gate resize 30%
5. Copy and Paste gargoyle and resize 30% 2 times. Place on the top of gate
6. Copy and Paste dangle resize 30% and place in the middle of gate to make it look like
a lock
7. Copy and Paste moon and resize 30% then drag it below your gate layer
8. Copy and Paste fog. You can play around with this to get the look you want.
9. Copy and Paste candybox resize 30%
10. Add your tube
11. Add your copyright info and Text
12. Merge Visible and Save
That's it..... I hope you have enjoyed my tutorial. If you have any questions please
feel free to leave a message in the Chatbox.
Friday, July 22, 2011
Mother's Love
I made this quick Tutorial up.... I hope you enjoy it

Mother's Love
Scrapkit "A Mothers Love" By Tonya
You can purchase it here: BrokenSky Dezine
You can purchase it here: BrokenSky Dezine
This is a very simple tutorial.... You should be able to follow it fairly easily.
1. Open new image 640 X 200
2. Floodfill with Color #ffc6d4
3. Go Selections/ Select All/ Selections/ Modify/ Contract/12
4. Floodfill with pp10
5. Copy and Paste frame3. Resize 30% and add Drop Shadow of your choice
6. Copy and Paste teadybear. Resize 30% and add Drop Shadow
7. Copy and Paste flower5. Resize 30% and add Drop Shadow
8. Add your tube make sure that you resize it 30%. I added a Drop Shadow to her also but you dont have to
9. Add your copyright info and Text
10. Merge Visible and Save
That's it..... I hope you have enjoyed my tutorial. If you have any questions please
feel free to leave a message in the Chatbox.
This tutorial was written July 2011 by me(Koolbrat) any similarities to another is just a coincidence.
Wednesday, July 20, 2011
Firework's

Firework's
I am using the amazing artwork of Jose Cano
You can purchase it here: PTE
You can purchase it here: PTE
Scrapkit "4th of July" by BrokenSky
You can purchase it here:BrokenSky Dezine
You can purchase it here:BrokenSky Dezine
This is a quick and simple little Tutorial.
1. Open new image 640 X 200
2. Floodfill with paper 8
3. Go Selections/Select All/ Selections/ Modify/ Contract/12
4. Floodfill with paper 12 and select none
5. Copy and Paste element 4 and place at the top
6. Copy and Paste element 30 resize 75% and place on the left side
7. Copy and Paste element 29 resize 75% and place on the right side
8. Copy and Paste element 1 and place in the top right hand corner
9. Copy and Paste element 34 and place in the middle under element 1 layer
10. Add your tube and put a Drop shadow
11. Add your Cpoyright info and Text
12. Merge Visible and Save
That's it..... I hope you have enjoyed my tutorial. If you have any questions please
feel free to leave a message in the Chatbox.
feel free to leave a message in the Chatbox.
This tutorial was written July 2011 by me(Koolbrat) any similarities to another is just a coincidence.
Who's your Queen
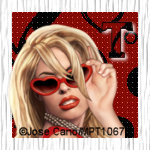

Who's your Queen?
Scrapkit "Queen of Hearts" by Tinx
You can purchase it here: Tinx Scraps
You can purchase it here: Tinx Scraps
1. Open new image 640 X 200
2. Floodfill with paper 16
3. Go Selections/ Select All/ Selections/ Modify/ Contract/12
4. Floodfill with paper 13. Select None
5. Copy and Paste queen of hearts chess piece. Resize 30% and place
6. Go to your layer palette and duplicate
7. Go Adjust/ Color Balance/ Manual Color Correction use these Settings: H:0, S:0, L:0, Black. Move into place
8. Copy and Paste card 2. Resize 30% and place below your chess pieces
9. Copy and Paste rose2. Resize 30% place next to the chess pieces.
10. Copy and Paste stepping stones. Resize 85%
11. Copy and Paste rope. Resize 85%
12. Copy and Paste your tube. Resize 75%
13. Add your Copyright info and Text
14. Merge Visible and Save
Avatar
1. Open new image 150 X 150
2. Floodfill with paper 16
3 Go Selections/ Select All/ Modify/ Contract/12
4. Floodfill with paper 13. Select None
5. Copy and Paste your tube
6. Add your copyright info and Text
7. Merge Visible and Save
That's it..... I hope you have enjoyed my tutorial. If you have any questions please
feel free to leave a message in the Chatbox.
This tutorial was written July 2011 by me(Koolbrat) any similarities to another is just a coincidence.feel free to leave a message in the Chatbox.
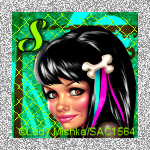
Punky
I just wrote this up for a contest for Stef's Scrakits..... I hope you enjoy it...

Punky
I am using the amazing artwork of Lady Mishka.
You can purchase it here: SATC
Scrapkit "Punky Green & Bad Lolita" by Stef.
You can purchase them here: Stef's Scrapkits
1. Open new image 640 X 200
2. Floodfill with paper 05 from the bad Lolita kit
3. Go Slections/ Select All/ Modify/Contract 12
4. Floodfill with paper 2 of the Punky Kit
5. Before you Select None grab your Element 41 and paste into selection
6. Copy and Paste Element 17 Resize 30%
7. Copy and Paste Element 11 Resize 30% and add Drop Shadow
8. Copy and Paste Element 29 Resize 30% move to just above your background
layer and add Drop Shadow
9. Copy and Paste Element 12 Resize 30% add Drop Shadow
10. Copy and Paste your tube Resize 30%
11. Copy and Paste Element 21 Resize 30% and move below your Punky Layer
12.Add your copyright info and Text
13. Merge Visible and Save
Avatar
1.Open new image 150 X 150
2. Floodfill with paper 05 from Bad Lolita Kit
3. Selections/ Select All/ Modify/ Contract 12
4. Flood fill with paper 2 of the Punky Green kit
5. Copy and Paste Element 41 into Selection
6. Copy and Paste your Tube and place it
7. Add your copyright info and Text
8. Merge Visible and Save
2. Floodfill with paper 05 from Bad Lolita Kit
3. Selections/ Select All/ Modify/ Contract 12
4. Flood fill with paper 2 of the Punky Green kit
5. Copy and Paste Element 41 into Selection
6. Copy and Paste your Tube and place it
7. Add your copyright info and Text
8. Merge Visible and Save
That's it..... I hope you have enjoyed my tutorial. If you have any questions please
feel free to leave a message in the Chatbox.
Friday, July 15, 2011
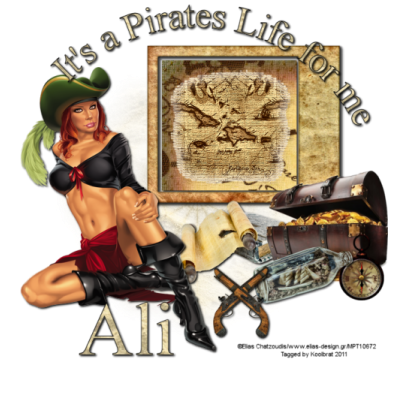
It's a Pirate's Life for Me
It's A Pirate's Life for Me
I used the amazing artwork of Elias Chatzoudis
You can purchase it here: PTE
Scrapkit "Pearl of the Caribbean" by Ali
You can get it here: DigiFox
Mask of choice. I used WSL_27
You can get it here: WSL
1. Open new image 700 X 700
2. Floodfill with paper-4
3. Load Mask and Merge Group
4. Copy and Paste frame-paper-1. Resize 75% add Drop Shadow
5. Grab your Magic Wand and click inside your frame
6. Floodfill with paper-5
7. Copy and Paste map-mask into selection and add Drop Shadow
8. Copy and Paste Tube into place and add Drop Shadow
9.Copy and Paste coffer-2 resize 75%
10. Copy and Paste compass resize 75%
11. Copy and Paste pistol resize 30% then duplicate layer. Go Image/Mirror and
move copy over original
12. Merge down and add Drop Shadow
13. Copy and Paste scroll-and-book resie 30% movedown in your layer palette
and add Drop Shadow
14. Copy and Paste ship-in-bottle and resize 30% add Drop Shadow
15. Add your copyright info and Text
16. Merge Visible and Save
That's it..... I hope you have enjoyed my tutorial. If you have any questions please
feel free to leave a message in the Chatbox.
This tutorial was written July 2011 by me(Koolbrat) any similarities to another is just a coincidence.
Thursday, July 14, 2011
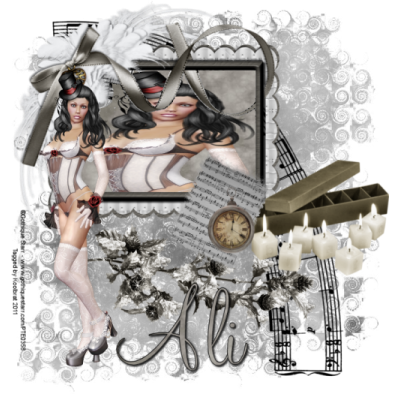
Romantic Music
Romantic Music
I am using the wonderful artwork of Gothique Starr
You can get this tube for free right now here: PTE
You can get this tube for free right now here: PTE
The amazing Scrapkit "Fallen" by Ali
You can purchase it here: Digifox
You can purchase it here: Digifox
Mask from WSL_258. You can download it here: WSL
1. Open new image 500 X 500
2. Floodfill with paper-6. Go layers load/Save Mask/ Load Mask from Disk. Find WSL_258, Merge Group
3. Copy and Paste Frame-cluster. Resize 75%
4. Grab your Magic Wand and click inside the frame. Make sure that you get all areas in the frame
with ants in it
5. Floodfill with paper-5
6. Crop some of your tube and Copy and Paste into Selection
7. Copy and Paste music and move below frame layer
8. Copy and Paste angeltwig resize 75%. Then Rotate 90 degrees to the right
9. Copy and Paste candles resize 75% 2 times
10. Copy and Paste music-mask resize 75%
11. Copy and Paste time and resize 75% 2 times
12. Copy Paste tube into place
13. Add your Copyright info and Text
14. Merge Visible and Save
That's it..... I hope you have enjoyed my tutorial. If you have any questions please
feel free to leave a message in the Chatbox.
feel free to leave a message in the Chatbox.
This tutorial was written July 2011 by me(Koolbrat) any similarities to another is just a coincidence.
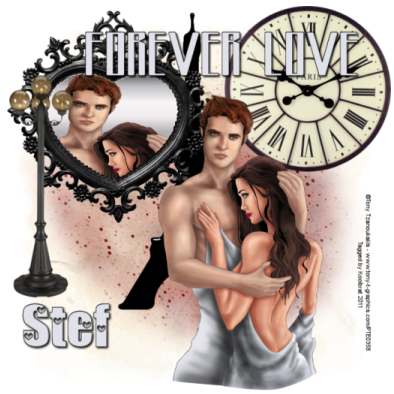
Forever Love
Forever Love
I am using the amazing artwork of Tony Tzanoukakis.
You can purchase it here: PTE
You can purchase it here: PTE
The amazing scrapkit "Love in Paris" by Stef
You can ourchase it here: Stef's Scraptkits
You can ourchase it here: Stef's Scraptkits
I used Becky's Masks. You may download them here: Supplies
1. Open new image 700 X 700
2. Floodfill with paper 02. Then go layers Load/Save Mask/ Load Mask from disk. Find
Becky 022 in your drop down window. Merge group
3. Add New Layer and Floodfill with Paper 01. Go layers/ Load Mask from disk and find
Becky 009 in your list Merge Group
4. Copy and Paste Element 13 resize 75%
5. Copy and Paste Element 12 and resize 75%
6. Copy and Paste Element 05 and resize 75%
7. Grab your Magic Wand and click inside Element 05. Then floodfill
with any metal you like. I used Corel_06_020 in my Gradient folder.
We are making our own mirror
8. Now you are going to go to your tube and Crop out what you want in your
mirror. Then Copy and Paste into selection and add Drop Shadow
9. Copy and Paste your tube into place
10. Copy and Paste Element 57 and move to the top of your Merged Layer in
your Layer Palette.
11. Add your Copyright info and your text
12. Merge Visible and Save
That's it..... I hope you have enjoyed my tutorial. If you have any questions please
feel free to leave a message in the Chatbox.
feel free to leave a message in the Chatbox.
This tutorial was written July 2011 by me(Koolbrat) any similarities to another is just a coincidence.
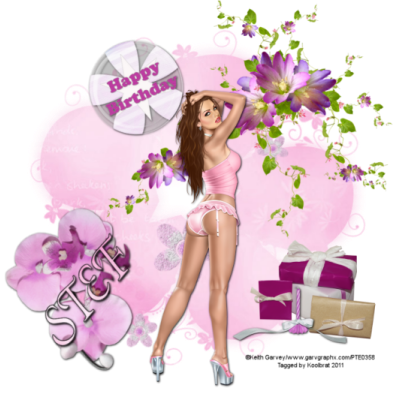
Birthday Bash
Birthday Bash
I am using the wonderful artwork of Keith Garvey.
You can purchase it here: PTE
The awsome kit "Birthday Girl" by Stef
You can purchase it here: Stef's Scrapkits
Mask from WSL. Which you can Download here: WSL
You can purchase it here: PTE
The awsome kit "Birthday Girl" by Stef
You can purchase it here: Stef's Scrapkits
Mask from WSL. Which you can Download here: WSL
1. Open new image 700 X 700
2. Floodfill with Paper 06
3. Go Lyaer: Load/Save Mask/Load Mask From DIsk. Choose WSL_Mask 303
from the drop down window. Merge group
4. Copy and Paste 30_BirthdayGirl resize 30% and add Drop Shadow
5. Copy and Paste 46_BirthdayGirl resize 30% and add Drop Shadow
6. Copy and Paste 10_BirthdayGirl resize 75% and rotate 50 degrees to the left.
7. Copy and Paste 19_BirthdayGirl reisze 30% and add Drop Shadow
8. Copy and Paste 03_BirthdayGirl resize 75%
9. Copy and Paste 09_BirthdayGirl resize 75% and add Drop Shadow
10. Copy and Paste your tube and add Drop Shadow
11. Add your copyright info and Text
12. Merge Visible and Save
That's it..... I hope you have enjoyed my tutorial. If you have any questions please
feel free to leave a message in the Chatbox.
This tutorial was written July 2011 by me(Koolbrat) any similarities to another is just a coincidence.
Monday, July 11, 2011
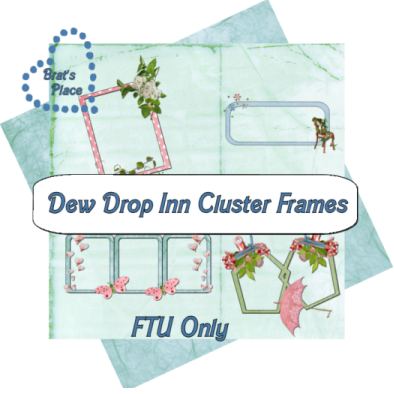
Dew Drop Inn Cluster Frames
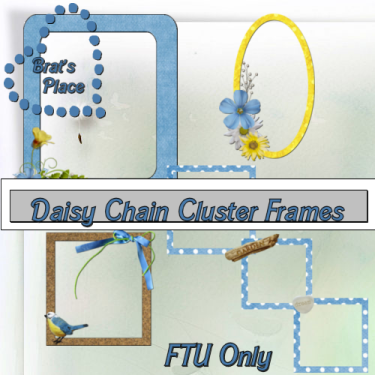
Daisy Chain Cluster Frames
Subscribe to:
Comments
(Atom)
TERMS OF USE
The Tubes in the zip are all made by me(Koolbrat).
:Please do not claim them as your own.
:They are Free for Personal Use Only.
:Please do not Share the files....
:Please do not change the file names.
:Please do not Burn to a CD or DVD or replicate to any other media or fix tangent unless it is for your own personal back up.
:Please do not use to create Brushes, Custom Shapes, Ect.
:Please leave the tubes intact, do not distor in any way.
If you have any Questions. Comment regarding these TOU please email koolbrat@gmail.com
Thank you for your download,
I hope you enjoy them,
Have fun,
Love Koolbrat
***********************
Copyright Notes:
Taggers.
Please add my copyright.
DO NOT use with other artist Tubes,
with the exception of Elements, Frames Ect.
Tutorial Writers.
Please include a credit to me somewhere on your page
(http://bratsplace-koolbrat.blogspot.com/)
Please add my copyright.
DO NOT use with other artists Tubes, with the exception of Elements, Frames ECT.
************************
Labels
- FTU Frames (5)
- My CT Tutorials (137)
- My Tutorials (2)
- News (118)


