Linkbar
Friday, January 31, 2014
New CT Tag/ Tutorial " Love Love" using Keith Garvey and Scrapkit "CDO- Valentine Collab" by HungryHill
Love Love
I am using the amazing artwork of Keith Garvey
You can purchase it here: GARV
Scrapkit "CDO- Valentine Collab" by HungryHill
You can also get it free if you purchase 2 scrapkits here: CDO
This kit will no longer be available after today so grab this beauty while you can.
1. Open new image 600 X 600
2. Copy and paste wordart. Resize to your liking and place in the middle of your image
3. Copy and paste diamond-heart. Resize to your liking and place over your wordart. Drop Sahdow of your choice
4. Copy and paste your tube. Resize to your liking and place so that her arms are over the diamond heart
5. Copy and paste doodle. Resize and rotate 30 degrees to the left. Drop shadow of your choice
6. Copy and paste heart line. Resize to your liking and rotate the same as before. Place over your doodle
7. Copy and paste jewel box. Resize to your liking and place on the left hand side of your diamond heart
8. Copy and paste memorybook. Resize to your liking and place in front of the right leg of your box
9. Copy and paste gifts. Resize to your liking and place in front of your box
10. Copy and paste tag. Resize to your liking and place at the top left corner of your memory book
11. Copy and paste fabric flower. Resize to your liking and place over your heart line. Drop shadow of choice
12. Copy and paste double rose. Resize to your liking and place over your fabric flower. Drop shadow of choice
13. Add text to your tag
14. Add your copyright info and Text
15. Merge Visible and Save
That's it..... I hope you have enjoyed my tutorial. If you have any questions please
feel free to leave a message in the Comments.
This tutorial was written January 2014 by me(Koolbrat) any similarities to another is just a coincidence.
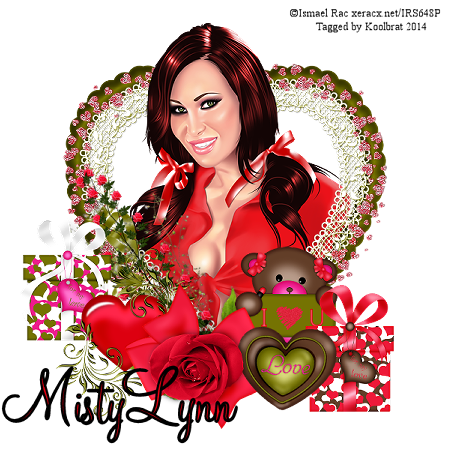
New CT Tag/Tutorial "Hearts of Love" using "Valentine Sweetness" by Ismael Rac and Scrapkit "New Valentine" by MistyLynn's Creations
Hearts of Love
I am using the amazing artwork of Ismael Rac
You can purchase it here: Rac
Scrapkit "New Valentine" by MistyLynn's Creations
You can also purchase it here: Scrap Candy
1. Open new image 600 X 600
2. Copy and paste MNV element 70. Resize to your liking and place in the middle of your image
3. Copy and paste MNV element 68. Resize to your liking and place over the top of element 70
4. Merge Down. Grab your magic wand and click inside your frames
5. Copy and paste your tube. Resize to your liking and place in the frame. Duplicate and hide copy. Drag orginal under
frame layer
6. Go Selections/Modify by 5/ Delete/ Selections None
7. Now unhide your copy and grab your eraser and erase everything that is showing over your frame
8. Copy and paste MNV element 53. Resize to your liking and rotate to your left to your liking. Just so that it looks like the
ribbon is on the frame. I rotated 120 to the left
9. Copy and paste MNV element 60. Resize to your liking and rotate 30 degree to the left. Place over the top of element53
10. Copy and paste MNV element59. Resize to your liking and rotate 30 degree to your left. Place over the top of element60
11. Copy and paste MNV element29. Resize to your liking and place on the right hand side of your frame
12. Copy and paste MNV element30. Resize to your liking and place on the left hand side of your frame
13. Copy and paste MNV element31. Resize to your liking and place on the right hand side of your frame
14. Copy and paste MNV element42. Resize to your liking and place on the left hand side of your image
15. Copy and paste MNV element33. Resize to your liking and place at the bottom of your flowers
16. Copy and paste MNV element10. Resize to your liking and place on the right hand side closest to your frame
17. Copy and paste MNV element57. Resize to your liking and place over the middle of your bow. Add drop shadow of your
choice
18. Add your copyright info and Text
19. Merge Visible and Save
That's it..... I hope you have enjoyed my tutorial. If you have any questions please
feel free to leave a message in the Comments.
This tutorial was written January 2014 by me(Koolbrat) any similarities to another is just a coincidence.
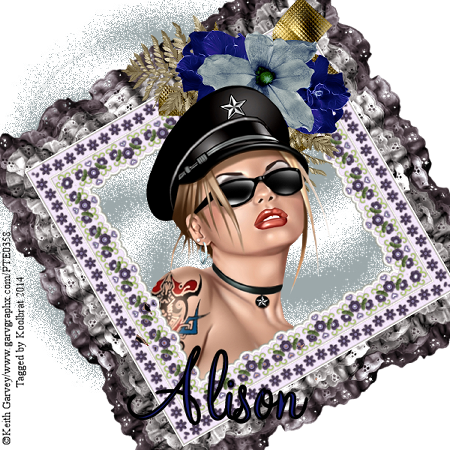
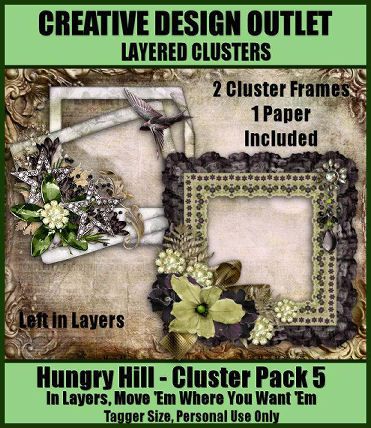
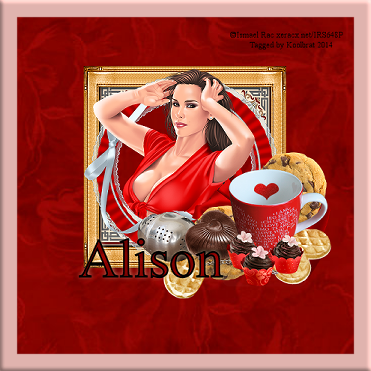
New CT Tags using Cluster Pack 5 from HungryHill
New CT Tags using the amazing artwork of HungryHill. These Cluster frame packs are amazing to play with. I am using Pack 5 here. You can move things around colorize them. Really you just need to check them out....... Don't forget to have fun that is what it is all about after all. You can find the Pack here:
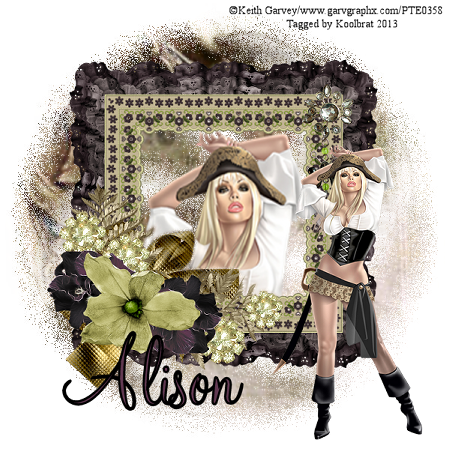
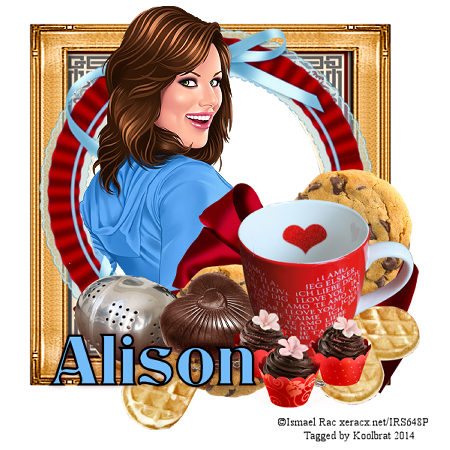
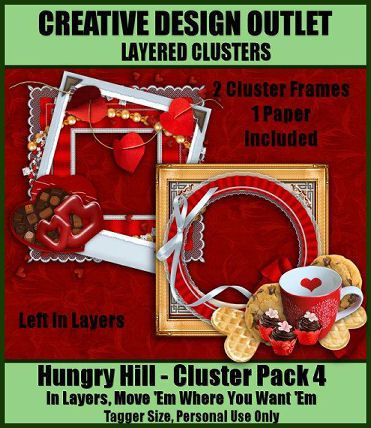
New CT Tags Using Cluster Pack 4
New CT Tags using the amazing artwork of
HungryHill. These Cluster frame packs are amazing to play with. I am
using Pack 4 here. You can move things around colorize them. Really you
just need to check them out....... Don't forget to have fun that is what
it is all about after all. You can find the Pack here
:
Thursday, January 30, 2014
New CT Tag/ Tutorial "Emo City" using Aguila Dorado and matching Scrapkit "Reckless" by Design by Joan
Emo City
I am using NAS- Reckless by Aguila Dorado
You can purchase it here: SNC
Matching scrapkit "Reckless" by Design by Joan
You can also purchase it here: SNC
1. Open new image 600 X 600
2. Floodfill with paper 5. Load saved mask and merge group
3. Add new layer and floodfill with paper 7. Load saved mask and merge group
4. Copy and paste reckless58
5. Copy and paste reckless80. Resize to your liking and place in the upper left hand corner of your image
6.Copy and paste reckless13. Resize to your liking and place in the middle of your image
7. Copy and paste reckless56. Resize to your liking and place in the lower right hand corner of your image
8. Grab your magic wand and click in the lower left hand part of your frame. Copy and paste into selection reckless33.
Selections None
9. Grab your magic wand and click in the lower right hand part of your frame. Copy and paste into selection reckless50.
Selections None
10. Grab your magic wand and click in the next square in your frame. Copy and paste into selection reckless45. Selections
None
11. Grab your magic wand and click in the middle square of your frame. Copy and paste into selection reckless79.
Selections None
12. Grab your magic wand and click the last square in that line. Copy and paste into selection reckless43. Selections None
13. Grab your magic wand and click in the upper left hand corner of your frame. Copy and paste into selection reckless55.
Selections None
14. Grab your magic wand and click in the middle of your top layer of squares. Copy and paste into selection reckless29.
Selections None
15. Grab your magic wand one more time and click in the upper rught hand corner of your frame. Copy and paste into
selection reckless69. Selections None
16. Copy and paste reckless44. Resize to your liking and place on the left hand side of your frame
17. Copy and paste reckless21. Resize to your liking and place on the left hand side of your image
18. Copy and paste reckless72. Resize to your liking and place in front of your frame
19. Copy and paste reckless42. Resize to your liking and place in the lower left hand corner of your image
20. Copy and paste reckless16. Resize to your liking and place next to your bear
21. Copy and paste reckless15. Resize to your liking and place in front of your bear
22. COpy and paste your tube. Resize to your liking and place in front of your heart
23. Add your copyright info and text
24. Merge visible and Save
That's it..... I hope you have enjoyed my tutorial. If you have any questions please
feel free to leave a message in the Comments.
This tutorial was written January 2014 by me(Koolbrat) any similarities to another is just a coincidence.
Wednesday, January 29, 2014
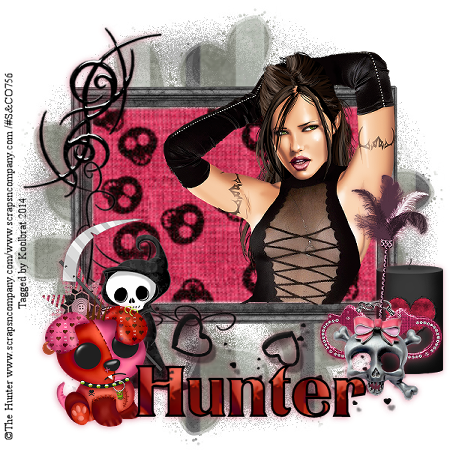
New CT Tag Tutorial "Gothic Whispers" using "Adriana" by Hunter
Gothic Whispers
I am using the amazing artwork of Hunter
You can purchase it here: SNC
Scrapkit "Adriana" by Designz by Sue
You can also purchase it here: SNC
1. Open new image 600 X 600
2. Floodfill with paper _024. Load saved mask and merge group
3. Add new layer and floodfill with paper _007. Load saved mask and merge group
4. Copy and paste Adriana_021. Resize to you liking and place in the middle of your image
5. Grab your magic wand and click inside the frame. Floodfill with paper _060
6. Copy and paste your tube as new layer
7. Take your eraser and erase the parts that are overlapping your frame in the areas that you don't want them to
8. Copy and paste Adriana_063. Resize and place on the upper left hand corner of your frame. Add drop shadow of choice
9. Copy and paste Adriana_011. Resize to your liking and place in the lower left hand side of your frame. Add drop shadow
of choice
10. Copy and paste Adriana_003. Resize to your liking and place over the spider web in the lower left hand side of your
frame. Add drop shadow of choice
11. Copy and paste Adriana_052. Resize and place in the middle of your image below your frame. Add drop shadow of
choice
12. Copy and paste Adriana_048. Resize and place next to your star on the lower left hand corner of your image. Add drop
shadow of choice
13. Copy and paste Adriana_061. Resize and place on the left hand side of your reaper layer. Add drop shadow of your
choice
14. Copy and paste Adriana_022. Resize and place on the right hand side of your frame image. Add drop shadow of choice
15. Copy and paste Adriana_043. Resize and place n front of your candle layer. Add drop shadow of choice
16. Copy and paste Adriana_045. Resize and place in front of your candle layer. Add drop shadow of choice
17. Copy and paste Adriana_034. Resize and place in front of your hand cuffs. Add drop shadow of choice
18. Add Copyright info and Text
19. Merge visible and Save
That's it..... I hope you have enjoyed my tutorial. If you have any questions please
feel free to leave a message in the Comment.
This tutorial was written January 2014 by me(Koolbrat) any similarities to another is just a coincidence.
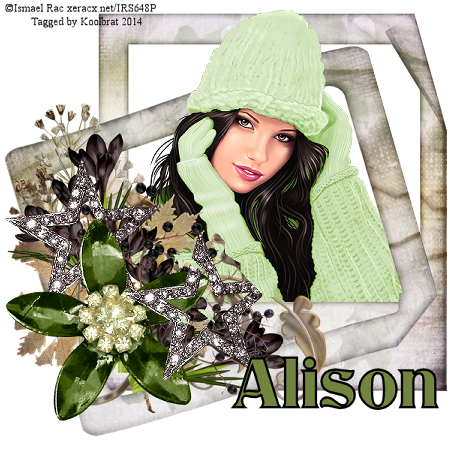
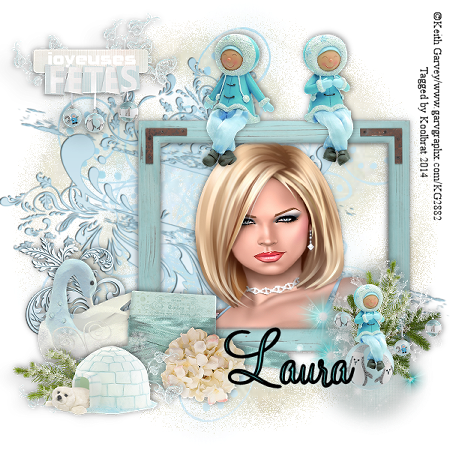
New CT Tag Tutorial "Winter Wonderland" using "Winter Ice" by Tiny Turtles Design
Winter Wonderland
I am using the amazing artwork of Keith Garvey
You can purchase it here: Garv
Scrapkit "Winter Ice" by Tiny Turtles Design
You can also purchase it here: Tiny
1. Floodfill with paper29. Load saved mask and merge group. Change visibility to 62%
2. Add new layer and floodfill with paper7. Load saved mask and merge group
3. Copy and paste winter ice element 45. Resize to your liking and place in the middle of your image
4. Copy and paste winter ice element 83. Resize to your liking and place on the right side of your image
5. Grab your magic wand and click inside your frame
6. Copy and paste your tube into selection. Add drop shadow of your choosing
7. Copy and paste winter ice element 43. Resize to your liking and place on the lower left hand side of your frame. Add
drop shadow of your choosing
8. Copy and paste winter ice element 116. Resize to you liking and place on the lower right hand side of your frame.
9. Copy and paste winter ice element 9. Resize to your liking and place on the lower left hand side of your frame. Add
drop shadow of your choosing
10. Copy and paste winter ice element 78. Resize to your liking and place over your sparkle. Add drop shadow of your
choosing
11. Copy and paste winter ice element 99. Resize to your liking and place over the back of your swan layer. Add drop
shadow of your choosing
12. Copy and paste winter ice element 96. Resize to your liking and place on the lower right hand side of element 99. Add
drop shadow of your choosing
13. Copy and paste winter ice element 73. Resize to your liking and place in front of your swan layer. Add drop shadow of
your choosing
14. Copy and paste winter ice element 64. Resize to your liking and place at the top of your frame layer. Add drop shadow
of your choosing
15. Copy and paste winter ice element 80. Resize to your liking and place in the upper left hand top corner of your image.
Add drop shadow of your choosing
16. Add copyright info and text
17. Merge visible and Save
That's it..... I hope you have enjoyed my tutorial. If you have any questions please
feel free to leave a message in the Comment.
This tutorial was written January 2014 by me(Koolbrat) any similarities to another is just a coincidence.
Subscribe to:
Posts
(Atom)
TERMS OF USE
The Tubes in the zip are all made by me(Koolbrat).
:Please do not claim them as your own.
:They are Free for Personal Use Only.
:Please do not Share the files....
:Please do not change the file names.
:Please do not Burn to a CD or DVD or replicate to any other media or fix tangent unless it is for your own personal back up.
:Please do not use to create Brushes, Custom Shapes, Ect.
:Please leave the tubes intact, do not distor in any way.
If you have any Questions. Comment regarding these TOU please email koolbrat@gmail.com
Thank you for your download,
I hope you enjoy them,
Have fun,
Love Koolbrat
***********************
Copyright Notes:
Taggers.
Please add my copyright.
DO NOT use with other artist Tubes,
with the exception of Elements, Frames Ect.
Tutorial Writers.
Please include a credit to me somewhere on your page
(http://bratsplace-koolbrat.blogspot.com/)
Please add my copyright.
DO NOT use with other artists Tubes, with the exception of Elements, Frames ECT.
************************
Blog Archive
-
▼
2014
(29)
-
▼
January
(7)
- New CT Tag/ Tutorial " Love Love" using Keith Garv...
- New CT Tag/Tutorial "Hearts of Love" using "Valent...
- New CT Tags using Cluster Pack 5 from HungryHill
- New CT Tags Using Cluster Pack 4
- New CT Tag/ Tutorial "Emo City" using Aguila Dorad...
- New CT Tag Tutorial "Gothic Whispers" using "Adria...
- New CT Tag Tutorial "Winter Wonderland" using "Win...
-
▼
January
(7)
Labels
- FTU Frames (5)
- My CT Tutorials (137)
- My Tutorials (2)
- News (118)


