Linkbar
Saturday, June 4, 2011
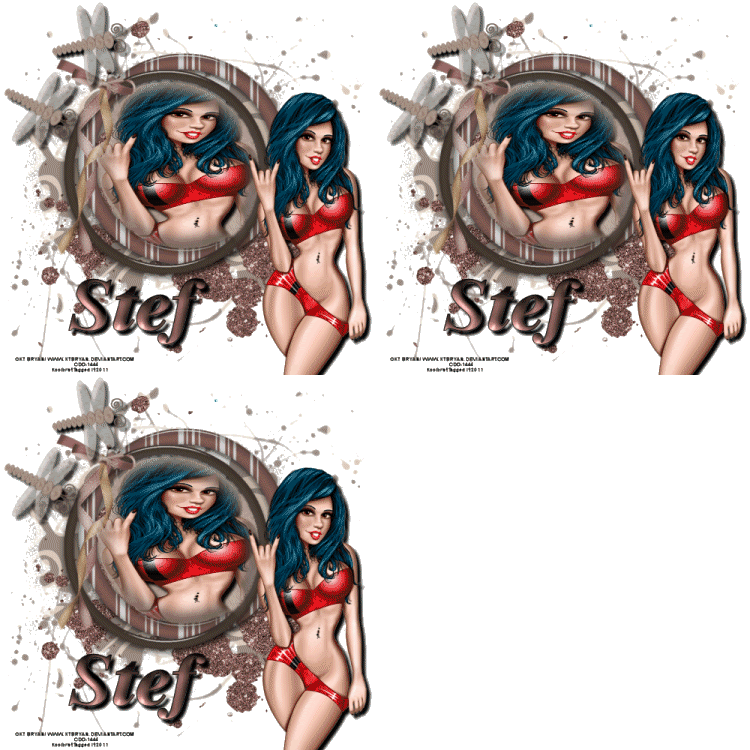
Chocolate Master

Chocolate Master
I used the wonderful artwork of KTBryan-Roxxy.
You can purchase it here:CDO
I am also using the ScrapKit Hot Chocolate By Stef.
You can download it here: Stef's ScrapKits
I used the Mask Butterflyflutterby86.
You can get it here: Butterfly Flutterby
1. Open new image 500 x 500.
2. Open paper 12 from kit and flood fill your image.
3. Go layers/Load/SaveMask/Load from disk. Find your mask. Use these settings:
source luminance fit to canvas all checked.
4. Go to your layer Palette and change visiblity to 70.
5. Grab your glitter01 from kit copy and paste as new layer. Resize to your liking and place
where you want. I resized 75% and Rotated 180 degrees to the left.
6. Grab your frame03 from kit copy and paste it as new layer.... I resized mine 75% 3 times
place to your liking.
7. Grab your magic wand change the feather to 24.
8. Add new layer and flood fill with paper 14 from kit.
9. Add new layer while still selected and paste your tube into selection. Add your drop shadow and select none.
10. Copy and paste your tube again as new layer this time add drop shadow of your choice and place where you want.
12. Copy and paste Dragonflies from kit add drop shadow and move them to your liking.
13. Add your copyright info and text.
13. Find your glitter layer and duplicate it 2 times. Make sure that the original is highlighted and go
adjust/Add remove noise/ Add noise with these settings Guassian checked and 25.
14. Do this for the copy layers also just change to 30 and 35.
15. Make sure that the original layer is highlighted and the copies are x out, then go edit/ copy merged
paste in Animation Shop as new image. Do the same with the copies but paste after current frame.
16. Go edit select all/ animation/ animation properties change to 22. Then Resize aninmation. I resized 75% then save.
That's it..... I hope you have enjoyed my tutorial. If you have any questions please
feel free to leave a message in the Chatbox.
This tutorial was written May 2011 by me(Koolbrat) any similarities to another is just a coincidence.
Subscribe to:
Post Comments
(Atom)
TERMS OF USE
The Tubes in the zip are all made by me(Koolbrat).
:Please do not claim them as your own.
:They are Free for Personal Use Only.
:Please do not Share the files....
:Please do not change the file names.
:Please do not Burn to a CD or DVD or replicate to any other media or fix tangent unless it is for your own personal back up.
:Please do not use to create Brushes, Custom Shapes, Ect.
:Please leave the tubes intact, do not distor in any way.
If you have any Questions. Comment regarding these TOU please email koolbrat@gmail.com
Thank you for your download,
I hope you enjoy them,
Have fun,
Love Koolbrat
***********************
Copyright Notes:
Taggers.
Please add my copyright.
DO NOT use with other artist Tubes,
with the exception of Elements, Frames Ect.
Tutorial Writers.
Please include a credit to me somewhere on your page
(http://bratsplace-koolbrat.blogspot.com/)
Please add my copyright.
DO NOT use with other artists Tubes, with the exception of Elements, Frames ECT.
************************
Labels
- FTU Frames (5)
- My CT Tutorials (137)
- My Tutorials (2)
- News (118)


0 comments:
Post a Comment