Linkbar
Monday, June 20, 2011
Night on the Town
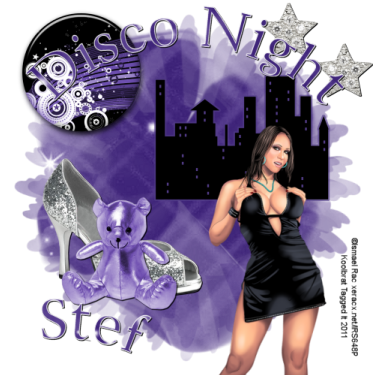
Night on the Town
I used the wonderful artwork of Ismael Rac
You can purchase it here: Rac
Scrapkit Disco Night by Stef
Lovely kit Stef Thank you
You can purchase it here: Stefs Scrapkits
Mask DBV mask 137
You can download it here: Designs By Vaybs
1. Open new image 500 X 500
2. Floodfill with paper 08
3. Go Layers/Load/Save Mask/Load Mask from Disk. Find DBV Mask 137 in your drop down
window. Merge Group
4. Copy and paste Stars resize 30%
5. Add drop Shadow of your choice
6. Copy and paste Button resize 30% and add the same drop shadow as before
7. Copy and paste Shoe03 resize 30% and add the same drop Shadow
8. Copy and paste Teddy02 resize 30% and add drop shadow
9. Copy and paste City and resize 30% 2 times
10. Copy and paste your tube resize to your liking and add the same drop shadow
11. Add your copyright info and Text
12. Save
That's it..... I hope you have enjoyed my tutorial. If you have any questions please
feel free to leave a message in the Chatbox.
This tutorial was written June 2011 by me(Koolbrat) any similarities to another is just a coincidence.
Friday, June 17, 2011
Devilious
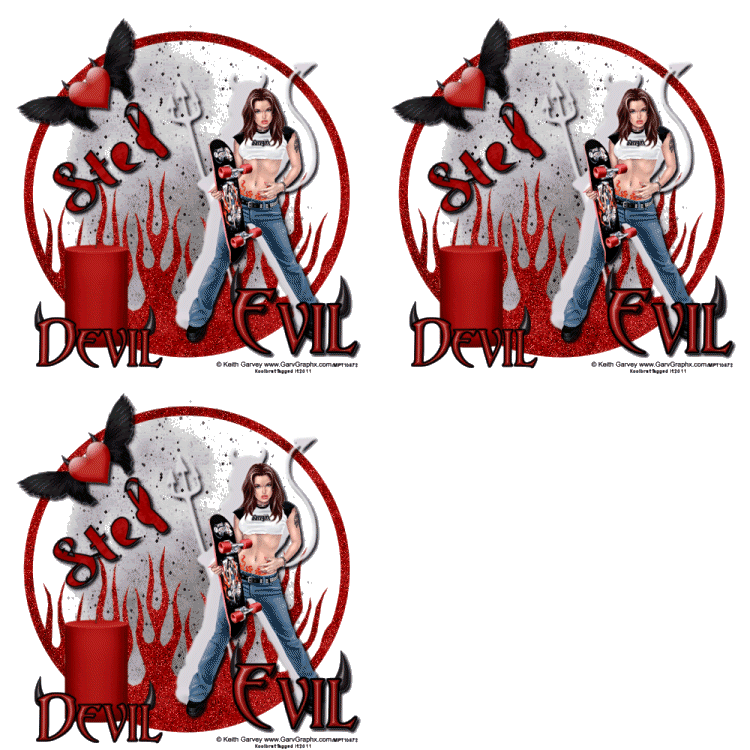
Devilious
I used the wonderful Artwork of
Keith Garvey.
You can purchase his Artwork here: MPT
Scrapkit Angel or Devil by Stef
You can purchase it here: Stef-Scraps
I also used Bflyflby_Mask12
You can download it here:
ButterflyFlutterby
I used Becky_mask022
You can download it here: Supplies
Dont forget to add your drop shadows.
1. Open new image 500 X 500
2. Floodfill with paper 09
3. Go Layers/Load/Save Mask/Load mask from disk and find Becky_mask022 in your drop down window
4. Merge group
5. Add new layer and floodfill with paper11
6. Go Layers/Load/Save Mask/ Load mask from disk and find Bflyflbymask12 in your drop down window
7. merge group
8. Copy and paste Heart04 resize and place in the upper left hand corner
9. Copy and paste Wordart02 and resize and place in bottom right hand corner
10. Copy and paster Candle01 resize and place in the bottom left hand corner
11. Copy and paste your tube. Resize and drag under Wordart layer
12. Add you copyright info and your text
13. Go to your bflyflbymask layer and duplicate it 2 times
14. Click on the original layer and go : Ajust/Add/ Remove Noise/ Add Noise Set your noise to 25
15. Do this for the other 2 layers but change the noise to 30 and 35
16. Make sure your duplicated layers are Xed out and go: Edit/ Copy Merged and paste as new animation
17. Do this for the other 2 layers
18. In Animation Shop go: Edit/ Select All/ Animation/ Resize animation 75%
Save
That's it..... I hope you have enjoyed my tutorial. If you have any questions please
feel free to leave a message in the Chatbox.
This tutorial was written June 2011 by me(Koolbrat) any similarities to another is just a coincidence.
Sunday, June 12, 2011
Bad Company

Bad Company
I used the wonderful artwork of
Elias Chatzoudis.
You can purchase it here: PTE
Scrapkit Bad Lolita by Stef
You can purchase it here: Stefs-scrapkits
1. Open new image 640 x 200
2. Floodfill with paper14
3. Add new layer and floodfill with paper 05
4. Go Selections/ Select All/ Modify/ contrast by 8 hit the delete key once.
5. Copy and paste Sparkles
6. Copy and paste Skulldoodle02 resize 30% and add drop shadow using these
Settings: 5,5,75,5.00
7. Copy and paste Bunny Bad Lolita resize 30% and add same drop shadow
8. Copy and paste Handcuffs and resize 30% Rotate 90 degrees to the right
9. Copy and paste Lipstick02 and resize 30%. Rotate 60 degrees right. Add the same drop shadow
10. Copy and paste your tube resize to your liking and add drop shadow
11. Copy and paste Condom03 and resize to your liking. Place under your bunny layer. Add drop
shadow
12. Copy and paste Skull02 and resize it 30% 2 times
13. Add your copyright info and text
14. Now go back to layer 2 and duplicate 2 times. Remember you need to duplicate the original layer
15. X out both copies and make sure the original layer is selected
16. Go Adjust/ Add/Remove Noise/Add Noise. Use these settings: Random, 25, Monochrome checked
17. Do this to the other 2 layers just change the noise to 30 & 35
18. Go Edit/ Copy Merged and paste as new animation in Animation Shop
19. Back in PSP X out the 1st layer and UnX the 1st of the duplicated layers
20. Go Edit/ Copy merged and paste after current frame
21. Back in PSP X out that layer and UnX the 2nd of the duplicated layers
22. Go Edit Copy Merged and paste after current frame
23. Check your animation and Save
Now for the Avatar
1. Open new image 150 x 150
2. Floodfill with paper 14
3. Add new layer and floodfill with paper05
4. Go Selections/ Select All/ Modify/ Contrast 8 and hit the delete key once
5. Copy and paste Sparkles
6. Copy and Paste you tube. Add the same drop shadow as before
7. Add your copyright info and text
8. Go to your Raster 2 layer and duplicate it 2 times
9. Make sure the original layer is selected and go Adjust/ Add/Remove Noise/Add Noise 25
10. Do the same for the other 2 layersand change noise to 30 & 35
11. Go Edit/ Copy Merged and paste as new animation in A.S
12 Do this for the other 2 layers aloso except paste after current frame
13. Save
That's it..... I hope you have enjoyed my tutorial. If you have any questions please
feel free to leave a message in the Chatbox.
This tutorial was written June 2011 by me(Koolbrat) any similarities to another is just a coincidence.
Wonderland
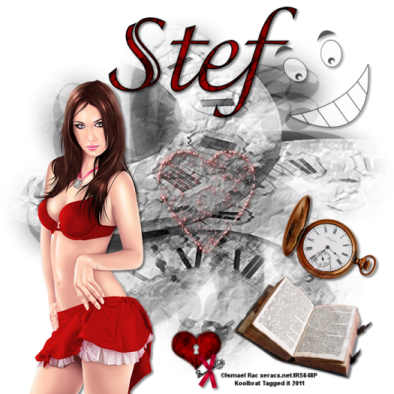
Wonderland
I used the wonderful artwork of
Ismael Rac.
You can purchase his work here: Rac
Scrapkit AliceinWonderland by Stef.
You can purchase it here:
Stefs-Scrapkits
I used WSL_Mask 18.
You can download it here: Weescotlass
1. Open new image 700 x 700
2. Floodfill with paper 03 from kit
3. Go Layers/ Load/Save Mask/Load mask from Disk. Find WSL_Mask 18 in your drop down window
4. Copy and paste element09 from kit. Resize it 75% and add drop shadow using these settings:3,3,50,5.00
5. Copy and paste your tube and add the same drop shadow as before. Place to your liking
6. Copy and paste element34 from kit. Resize 30% and add same drop shadow
7. Copy and paste element21 from kit. Resize 30% and add the same drop shadow as before
8. Change Visibilty to 66
9.Copy and paste element 18 resize 30%
10. Copy and paste element 19 and resize 30% 2 times. Add the same drop shadow as before
11. Copy and paste element 17 add same drop shadow as before.
12. Go Adjust/color balance/manual color correction and use these settings: Hue 0, Saturation 213, Lightness 91,
Target color #A60f0f.
13. Add your copyright info and text and save.
That's it..... I hope you have enjoyed my tutorial. If you have any questions please
feel free to leave a message in the Chatbox.
This tutorial was written June 2011 by me(Koolbrat) any similarities to another is just a coincidence.
Friday, June 10, 2011
Forever Garden
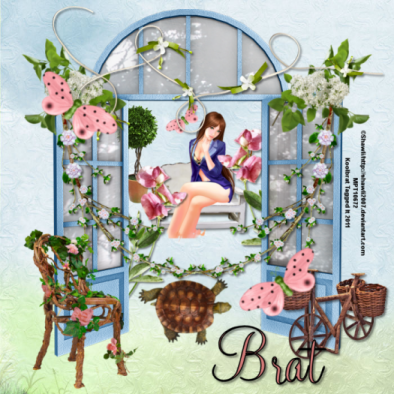
Forever Garden
I used the wonderful artwork of Shawli.
You can purchase it here: MPT
The Scrapkit Dewdrop by Sarah.
You can purchase it here: Digifox
1. Open new image 700 x 700.
2. Flood fill with paper-1 from kit.
3. Copy and paste bench from kit and resize it 75% 4 times.
4. Add drop shadow using these settings: 3,3,50,5.00. black.
5. Copy and paste garden-door from kit.
6. Copy and paste branch from kit and resize it 75% 2 times. Place at the top of the left door.
7. Go to your layer palette and duplicate your branch layer. Then go image/mirror. Add the
same drop shadow as before to both branches.
8. Copy and paste lilacs from kit. Resize them to your liking and place them over the top
of the branches.
9. Go layers duplicate and then image/ mirror.
10. Copy and paste flower- string resize 75% and place at the top of the garden doors. Add the same
drop shadow as before.
11. Copy and paster topiary and resize 75%. Place under he garden foors somewhere close to the bench.
12. Copy and paste woven-bicycle and resize to your liking. Add the same drop shadow as before.
13. Copy and paste garden-chair and resize to your liking. Place on the left side of the garden doors.
14. Copy and paste flower-1 and resize to your liking and place behind left garden door.
15. Go layer/ duplicate layer adn then image/ mirror. Add same drop shadow as before.
16. Copy and paste fluttery-bug and resizeto your liking.
17. Go to your layer palette and duplicate layer and then place both to your liking.
18. Copy and paste turtle from kit. Resize to your liking and place anywhere that looks good to you.
19. Add your copyright info and text. And Save.
That's it..... I hope you have enjoyed my tutorial. If you have any questions please
feel free to leave a message in the Chatbox.
This tutorial was written June 2011 by me(Koolbrat) any similarities to another is just a coincidence.
Kits
I am going to get some kits added as soon as I get caught up on the other things that I am behind on.... I also have Stationaries that I mke up and Menu's. If you would like them added also please let me know.
Picture Perfect
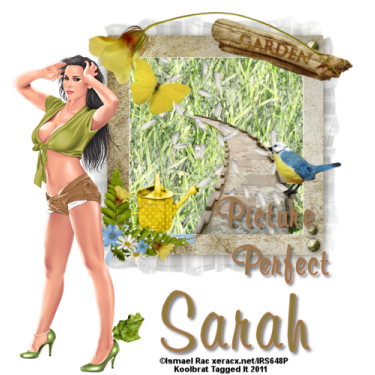
Picture Perfect
I used the wonderful artwork of Ismael Rac.
You can purchase his artwork here: Rac
The scraptkit DaisyChain by Sarah.
You can purchse it here: Digifox.
Dont forget to save often and add your drop shadows in where you like.
1. Open a new image 500 x 500.
2. Grab your frame from the kit. Copy and paste as new layer.
3. Take your magicwand and click inside the frame.
4. Floodfill with your grass pattern and check Texture and use grass.
5. Copy and paste your path from the kit. Resize so that it fits inside your frame.
6. Copy and paste the garden_sign from kit and resize 30% and rotate 13 degrees to the right.
Place in the right hand corner of the frame.
7. Copy and paste your butterfly from kit and place in the left hand corner of the frame. I also
rotated mine 30 degrees to the right.
8. Copy and paste the bird from kit and resize and place so that it looks like it is sitting on the
side of the path.
9. Copy and paster your watercan from kit and resize. Place in the bottom left hand corner.
10. Copy and paste the petals from kit. resize them and place them in the middle of the frame so
that it looks like they are blowing around.
11. Take your stem from kit and resize it and place at the top of your frame.
12. The the cluster-shadowed and reisze then place on the left hand corner of your frame.
13.Copy and paste your tube place to your liking.
14. Copy and paste the frog from the kit close to your tube.
15. Add your copyright info and your text and Save.
That's it..... I hope you have enjoyed my tutorial. If you have any questions please
feel free to leave a message in the Chatbox.
This tutorial was written June 2011 by me(Koolbrat) any similarities to another is just a coincidence.
Saturday, June 4, 2011
Chocolate Master
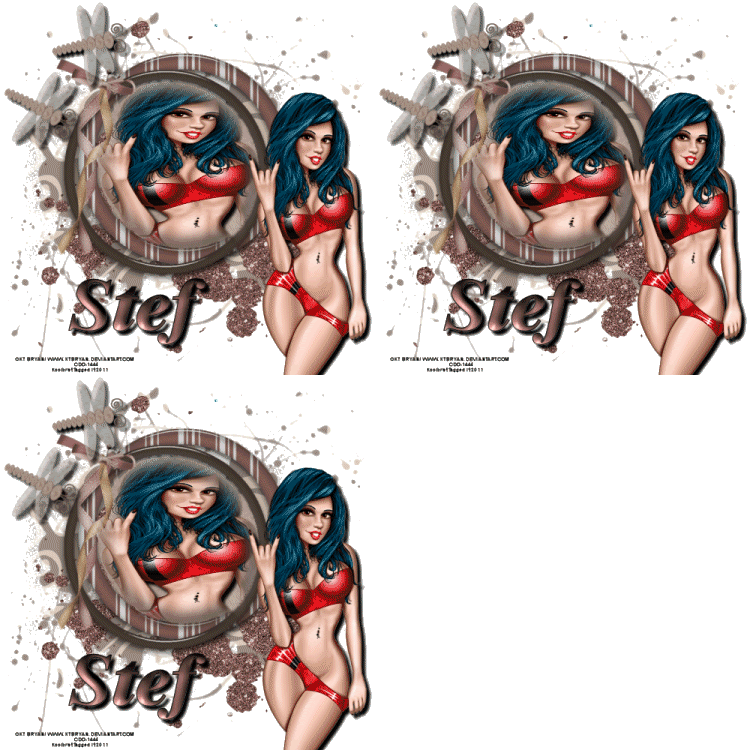
Chocolate Master
I used the wonderful artwork of KTBryan-Roxxy.
You can purchase it here:CDO
I am also using the ScrapKit Hot Chocolate By Stef.
You can download it here: Stef's ScrapKits
I used the Mask Butterflyflutterby86.
You can get it here: Butterfly Flutterby
1. Open new image 500 x 500.
2. Open paper 12 from kit and flood fill your image.
3. Go layers/Load/SaveMask/Load from disk. Find your mask. Use these settings:
source luminance fit to canvas all checked.
4. Go to your layer Palette and change visiblity to 70.
5. Grab your glitter01 from kit copy and paste as new layer. Resize to your liking and place
where you want. I resized 75% and Rotated 180 degrees to the left.
6. Grab your frame03 from kit copy and paste it as new layer.... I resized mine 75% 3 times
place to your liking.
7. Grab your magic wand change the feather to 24.
8. Add new layer and flood fill with paper 14 from kit.
9. Add new layer while still selected and paste your tube into selection. Add your drop shadow and select none.
10. Copy and paste your tube again as new layer this time add drop shadow of your choice and place where you want.
12. Copy and paste Dragonflies from kit add drop shadow and move them to your liking.
13. Add your copyright info and text.
13. Find your glitter layer and duplicate it 2 times. Make sure that the original is highlighted and go
adjust/Add remove noise/ Add noise with these settings Guassian checked and 25.
14. Do this for the copy layers also just change to 30 and 35.
15. Make sure that the original layer is highlighted and the copies are x out, then go edit/ copy merged
paste in Animation Shop as new image. Do the same with the copies but paste after current frame.
16. Go edit select all/ animation/ animation properties change to 22. Then Resize aninmation. I resized 75% then save.
That's it..... I hope you have enjoyed my tutorial. If you have any questions please
feel free to leave a message in the Chatbox.
This tutorial was written May 2011 by me(Koolbrat) any similarities to another is just a coincidence.
Friday, June 3, 2011
Cracked up
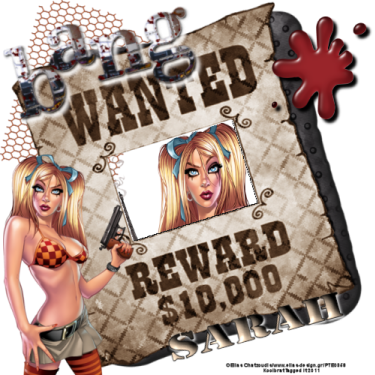
I used the wonderful artwork of Elias Chatzoudis.
You can purchase his artwork here: Elias Chatzoudis
I used the lovely Scrapkit by Sarah.
You can purchase it here:Digifox
1. Open a new image 500 x 500.
2. Open wanted frame from kit and copy and paste as new layer. Close the original. Resize to your
liking. I resized 75%.
3. Grab your magic wand and use these settings: Mode-Replaced/Match Mode-RGB Valve/Tolerance 55/
Contiguous checked/Feather 1. and click in the open space on the wanted frame.
4. Open your tube and copy and paster into selection. Add drop shadow of your choiceand select none.
5. Grab your tube again and copy and paste as new layer. Resize to your liking.
6. Grab mesh from kit and copy and paste as new layer. Resize .Move this layer under your wanted frame layer.
7. Open your WA-bang and copy and paste as new layer. Resize to your liking. I used 75%.
8. Open the splatter and copy and paste as new layer. Resize to your liking. I used 75% twice. Add drop
shadow of your choice.
9. Add your copyright info and text.
10. Merge visible resize 75% and save.
That's it..... I hope you have enjoyed my tutorial. If you have any questions please
feel free to leave a message in the Chatbox.
This tutorial was written May 2011 by me(Koolbrat) any similaritiesto another is just a coincidence.
Wednesday, June 1, 2011
Grrrrrrrr
Google keeps signing me out so I cant do anyting.... As soon as I can get signed in and stay signed in I will get the Tutorials moved for you all.....
Subscribe to:
Comments
(Atom)
TERMS OF USE
The Tubes in the zip are all made by me(Koolbrat).
:Please do not claim them as your own.
:They are Free for Personal Use Only.
:Please do not Share the files....
:Please do not change the file names.
:Please do not Burn to a CD or DVD or replicate to any other media or fix tangent unless it is for your own personal back up.
:Please do not use to create Brushes, Custom Shapes, Ect.
:Please leave the tubes intact, do not distor in any way.
If you have any Questions. Comment regarding these TOU please email koolbrat@gmail.com
Thank you for your download,
I hope you enjoy them,
Have fun,
Love Koolbrat
***********************
Copyright Notes:
Taggers.
Please add my copyright.
DO NOT use with other artist Tubes,
with the exception of Elements, Frames Ect.
Tutorial Writers.
Please include a credit to me somewhere on your page
(http://bratsplace-koolbrat.blogspot.com/)
Please add my copyright.
DO NOT use with other artists Tubes, with the exception of Elements, Frames ECT.
************************
Labels
- FTU Frames (5)
- My CT Tutorials (137)
- My Tutorials (2)
- News (118)


