Linkbar
Friday, June 14, 2013
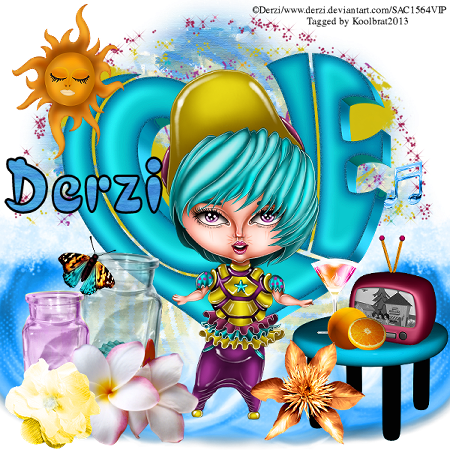
Lovely Waves
Lovely Waves
I am using the amazing artwork of Derzi
You can purchase it here:SATC
Scrapkit "Aquatic Beauty 2" by Hania's Designz
You can purchase it here: SATC
Font of choice
1. Open new image 600 X 600
2. Floodfill with paper02. Load mask and merge group
3. Add new layer and floodfill with paper06. Load mask and merge group
4. Copy and paste waves and place them in the middle of your image
5. Copy and paste rainbow. Resize and place in the middle of your image
6. Copy and paste yellow smear. Rotate 50 degrees. Duplicate/ Image/mirror
7. Copy and paste Love wordart and place in the middle of your image
8. Copy and paste your tube. Resize to your liking and place in the middle of your wordart
9. Copy and paste sun. Resize and place in the upper left hand corner of your image
10. Copy and paste blue music note. Resize and place in the middle of the right side of your image
11. Copy and paste table. Resize and place in the lower right hand side of your image
12. Copy and paste tv. Resize and place on the table towards the back
13. Copy and paste martini glass and place on the table
14. Copy and paste orange. Resize to your liking and place in front of your glass
15. Copy and paste orange flower. Resize to your liking and place in fron tof one of your table legs
16. Copy and paste colored glass jars. Resize to your liking and place in the lower left hand side of your image
17. Copy and paste butterfly. Resize to your liking and place it on your colored jars
18. Copy and paste pink flower. Resize to your liking and place in front of your colored jars
19. Copy and paste yellow floer. Reisze to your liking and place next to your pink flower
20. Add your copyright info and Text
21. Merge visible and Save
That's it..... I hope you have enjoyed my tutorial. If you have any questions please
feel free to leave a message in the Chatbox.
This tutorial was written June 2013 by me(Koolbrat) any similarities to another is just a coincidence.
Tuesday, June 11, 2013
Hot Medical Needs
Hot Medical Needs
I am using the amazing artwork of NinasteOc
You can purchase it here:SATC
Scrapkit "Sexy Nurse" by Hania Designz
You can purchase it here: SATC
Font "Attention" or Font of your choice
1. Open new image 600 X 600
2. Floodfill with paper-04. Load saved mask and merge group
3. Add new layer and floodfill with paper-06. Load saved mask and merge group
4. Copy and paste 103 place to your liking
5. Copy and paste 31. Grab your magic wand and click inside one of the picture areas. Paste into selection a piece of your
tube. Select none.
6. Grab your magic wand again and click inside the other side of your picture area. Paste into selection another piece of
your tube. Select none
7. Copy and paste 45
8. Copy and paste 11. Resize to your liking and place in the lower middle of your image
9. Copy and paste 61. Resize to your liking and place in the lower left hand corner of your image
10. Copy and paste 60. Resize to your liking and place in the lower right hand side of your image
11. Copy and paste 67. Resize to your liking and place next to your other bottle in the lower right hand side of your image
12. Copy and paste 98. Resize to your liking and place in the upper right hand corner of your image
13. Copy and paste your tube. Resize to your liking and place on the right hand side of your image
14. Copy and paste 79. Resize to your liking and place in the lower left hand corner of your image
15. Grab your magic wand and click inside one of the picture openings. Paste a piece of your tube. Select none
16. Grab your magic wand agian and click inside the other picture opening. Paste another piece of your tube and select
none
17. Copy and paste 21. Resize to your liking and place over your medical kit box
18. Copy and paste 86. Place in the upper left hand side of your image
19. Copy and paste03. Resize to your liking and place at the bottom of your image
20. Copy and paste 54. place in the lower left hand corner of your image
21. Add your copyright info and text
22. Merge visbile and save
That's it..... I hope you have enjoyed my tutorial. If you have any questions please
feel free to leave a message in the Chatbox.
This tutorial was written May 2013 by me(Koolbrat) any similarities to another is just a coincidence.
Sunday, June 9, 2013
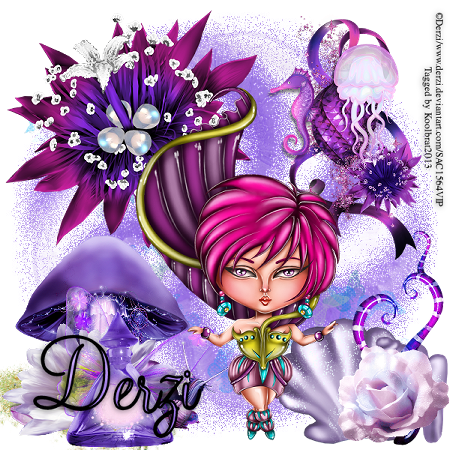
Violet of the Sea
Violet of the Sea
I am using the amazing artwork of Derzi
You can purchase it here:SATC
Scrapkit "Eileen Red Carpet" by Tiny Turtle
You can purchase it here: SATC
Font of choice
1. Open new image 600 X 600
2. Floodfill with paper(1) load mask and merge group
3. Add new raster layer and floodfill with paper(11) load mask and merge group
4. Copy and paste element 27. Place in the middle of your image
5. Copy and paste element12. Resize to your liking and place in the upper left hand corner of your image
6. Copy and paste element82. Resize to your liking and place in the lower left hand corner of your imge
7. Copy and paste element29. Resize to your liking and place in the lower right hand corner of your image
8. Copy and paste element31. Resize to your liking and place next to your other shell in the lower right hand corner
9. Copy and paste elelmet28. Resize to your liking and place over the shells on the right hand corner of your image
10. Copy and paste element38. Resize to your liking and place in the upper right hand corner of your image
11. Copy and paste element59. Resize to your liking and place in the lower left hand corner of your image
12. Copy and paste element46. Resize to your liking and place to the right hand side of your flower layer in the left hand
side
13. Copy and paste element66. Resize to your liking and place in the lower right hand side of your image
14. Copy and paste your tube. Resize to your liking and place in the middle of your image
15. Add your copyright info and text
16. Merge visible and Save
That's it..... I hope you have enjoyed my tutorial. If you have any questions please
feel free to leave a message in the Chatbox.
This tutorial was written May 2013 by me(Koolbrat) any similarities to another is just a coincidence.
Saturday, June 8, 2013
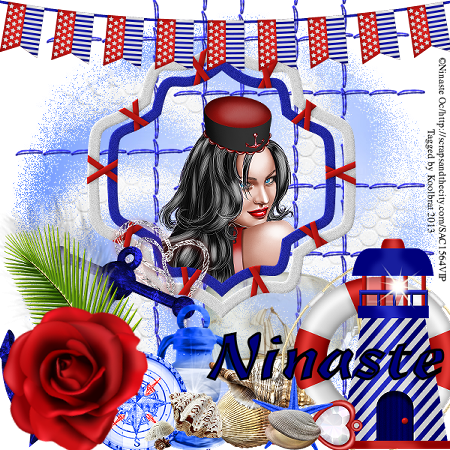
Shells of Color
Shells of Color
I am using the amazing artwork of NinasteOc
You can purchase it here:SATC
Scrapkit "Sexy Sailor" by Hania Design
You can purchase it here: SATC
Font of choice
1. Open new image 600 X 600
2. Floodfill with paper03 load mask of choice
3. Add new layer and floodfill with paper07
4. Copy and paste the stitch
5. Copy and paste the ship in a bottle resize to your liking and place on the right hand side of your image
6. Copy and paste your life preserver resize to your liking and place in the lower right hand corner
7. Copy and paste your frame resize to your liking. Place in the middle of your image.
8. Grab your magic wand and click inside your frame. Go selections/ modify/ expand 5
9. Copy and paste your tube as a new layer and move to your liking. Go selections/ invert/ delete
10. Copy and paste your heart crystal resize to your liking and place on the left hand side of your frame. Add drop shadow of your choice
11. Copy and paste anchor resize to your liking and place in the lower left hand corner of your image
12. Copy and paste your light house resize to your liking and place in the lower right hand side of your image
13. Copy and paste your feather resize to your liking and place over your anchor
14. Copy and paste your palm leaf resize to your liking and place over your anchor
15. Copy and paste your key resize to your liking and place next to your light house. Rotate 90 degrees to the right
16. Copy and paste your lanter resize to your liking and place next to your anchor
17. Copy and paste shell 43 resize to your liking and place next to your lantern
18. Copy and paste compass resize to your liking and place over your palm leaf
19. Copy and paste rose resize to your liking and place over your anchor
20. Copy and paste shell resize to your liking and place above your shell 43
21. Copy and paste shell64 resize to your liking and place next to your shell43
22. Copy and paste starfish resize to your liking and place in front of your shells
23. Copy and paste shell resize to your liking and place over your starfish
24. Copy and paste flags place at the top of your image
25. Add your copyright info and Text
26. Merge visible and Save
That's it..... I hope you have enjoyed my tutorial. If you have any questions please
feel free to leave a message in the Chatbox.
This tutorial was written May 2013 by me(Koolbrat) any similarities to another is just a coincidence.
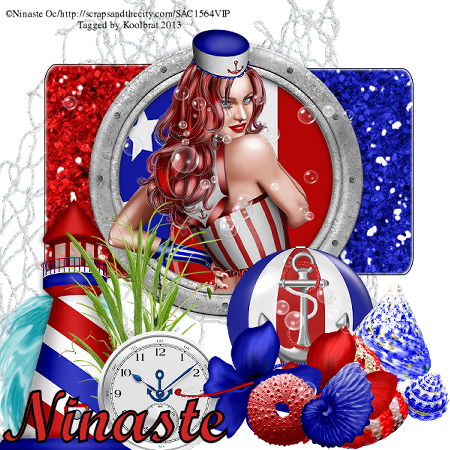
The Colors of Glory
The Colors of Glory
I am using the amazing artwork of NinasteOc
You can purchase it here:SATC
Scrapkit "Sailor Girl" by Amy Marie
You can purchase it here: SATC
Font of choice
1. Open new image 600 X 600
2. Copy and paste your net layer
3. Grab your preset shapes tool and draw a circle. Convert to raster layer and floodfill with paper1
4. Grab your preset shapes tool again and draw a rectangle. Convert to raster layer and floodfill with paper4
5. Grab your preset shapes tool aagain and draw another rectangle. Convert to raster layer and floodfill with paper3
6. Merge your shapes together
7. Copy and paste your wave resize to your liking and place in the lower left hand corner of your image
8. Copy and paste your frame resize to your liking and place in the middle of your image
9. Grab your amgic wand and click inside your frame. Then go selections/ modify expand 5
10. Copy and paste your tube place to your liking. Duplicate and hide. Then go selections/invert/delete
11. Unhide your copy of your tube
12. Grab your eraser tool and erase anything that it outside the frame layer that you do not want to be showing
13. Copy and paste the red white and blue lighthouse. Resize to your liking and place in front of your wave layer
14. Copy and paste the red white and blue ball. Resize to your liking and place over the lower right hand side of your frame
15. Copy and paste your ancor resize to your liking and place ontop of your ball. Merge down
16. Copy and paste your greenary resize to your liking and place about midway on the light house
17. Copy and paste your red white and blue shells. Resize to your liking and place in the lower right hand corner of your image
18. Copy and paste your watch face resize to your liking and place over the greenary
19. Copy and paste your red flower and place in the lower right hand side of your image
20. Copy and paste your blue flower and place it in the same spot
21. Copy and paste your blue shell resize to your liking and place in front of your red flower
22. Copy and paste your red shell resize to your liking and place in front of your blue flower
23. Copy and paste your bubbles. Place to your liking
24. Add your copyright info and text
25. Merge visible and save
That's it..... I hope you have enjoyed my tutorial. If you have any questions please
feel free to leave a message in the Chatbox.
This tutorial was written May 2013 by me(Koolbrat) any similarities to another is just a coincidence.
Subscribe to:
Comments
(Atom)
TERMS OF USE
The Tubes in the zip are all made by me(Koolbrat).
:Please do not claim them as your own.
:They are Free for Personal Use Only.
:Please do not Share the files....
:Please do not change the file names.
:Please do not Burn to a CD or DVD or replicate to any other media or fix tangent unless it is for your own personal back up.
:Please do not use to create Brushes, Custom Shapes, Ect.
:Please leave the tubes intact, do not distor in any way.
If you have any Questions. Comment regarding these TOU please email koolbrat@gmail.com
Thank you for your download,
I hope you enjoy them,
Have fun,
Love Koolbrat
***********************
Copyright Notes:
Taggers.
Please add my copyright.
DO NOT use with other artist Tubes,
with the exception of Elements, Frames Ect.
Tutorial Writers.
Please include a credit to me somewhere on your page
(http://bratsplace-koolbrat.blogspot.com/)
Please add my copyright.
DO NOT use with other artists Tubes, with the exception of Elements, Frames ECT.
************************
Labels
- FTU Frames (5)
- My CT Tutorials (137)
- My Tutorials (2)
- News (118)


