Linkbar
Tuesday, August 30, 2011
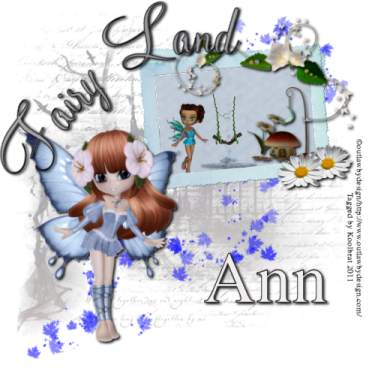
Fairy Land
Fairy Land
I am using the amazing artwork of Outlaw by Design
You can download it for free here: Outlaw
Scrapkit "FairyDust" by Babyfairy
You can purchase it here: Digifox
Thank you Babyfairy for the great kit and posers. I had alot of fun playing with it
Mask of choice. I used gemsmasks-118
You can download it here: Gems
1. Open new image 500 X 500
2. Floodfill with paper1(5). Go layers/Load Save Mask/Load Mask from Disk. Merge Group
3.Copy and Paste element1(9) resize 30% 3 times
4. Grab your magicwand and click inside your frame.
5. Add new layer and floodfill with paper1(1)
6. Copy and Paste element1(16) resize 30% 3 times again. Add drop shadow of your choice
7. Copy and Paste element1(27) resize so that it fits inside the frame. Add the same drop shadow
8. Copy and Paste element1(31) and resize 30% 3 times
9.Copy and Paste element1(2) the beautiful poser provided with the kit. Resize 30% then 75% 2 times
10. Copy and Paste element1(8) and resize to your liking. Add the same drop shadow as before
11. Copy and Paste element1 resize to your liking
12. Drag below your frame layer in your layer palette
13. Copy and Paste element1(11) resie 30% 2 times. Place in lower right corner of frame
14. Duplicate your flower and move over slightly from the original
15. Merge your copy to your originial and add the same drop shadow
16. Copy and Paste your tube and add same drop shadow
17. Add your copyright info and Text
18. Merge Visible and Save
That's it..... I hope you have enjoyed my tutorial. If you have any questions please
feel free to leave a message in the Chatbox.
feel free to leave a message in the Chatbox.
This tutorial was written August 2011 by me(Koolbrat) any similarities to another is just a coincidence.
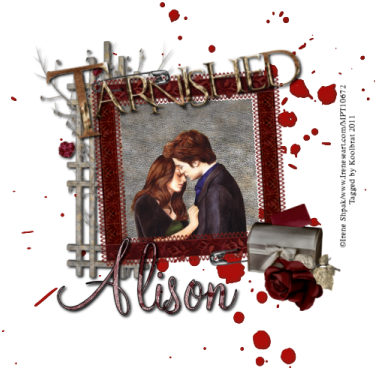
Tarnished
Tarnished
Irene is working on moving her artwork over to the store
so it might be a couple of weeks before you see her there.
But I got the info from Irene herself. So please be patient
Scrapkit "Tainted Love" by Alison
You can Purchase it here: DigiFox
so it might be a couple of weeks before you see her there.
But I got the info from Irene herself. So please be patient
Scrapkit "Tainted Love" by Alison
You can Purchase it here: DigiFox
1. Open new image 500 X 500
2. Copy and Paste splatter
3. Copy and Paste Square resize 75%
4. Grab your magicwand and click inside the frame
5. Add new layer and Floodfill with paper4
6. Copy and Paste your tube so that it looks like it is inside the frame
7. Copy and Paste lattice resize 75% and drag below your floodfill layer
8. Copy and Paste letterbox resize 30% then 75% and place in the lower right hand corner of your frame
9. Copy and Paste WA- Tarnished resize 75% and rotate 10 degrees left
10. Copy and Paste rose and resize 30% then 75% place next to your lettbox
11. Add your copyright info and Text
12. Merge Visible and Save
That's it..... I hope you have enjoyed my tutorial. If you have any questions please
feel free to leave a message in the Chatbox.
This tutorial was written August 2011 by me(Koolbrat) any similarities to another is just a coincidence.
Sunday, August 28, 2011
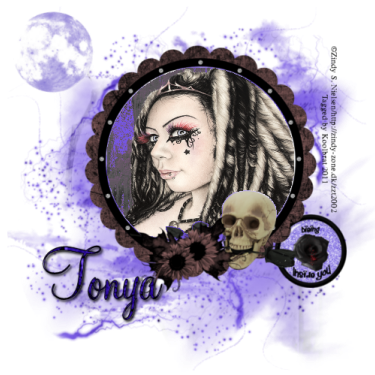
Dying Without You
Dying Without You
Scrapkit "Dieing Inside" by Tonya
You can purchase it here: BrokenSky Dezine
You can purchase it here: BrokenSky Dezine
I am using Gemsmask114.
You can download it here: GEMS
You can download it here: GEMS
1. Open new image 500 X 500
2. Floodfill with paper 17. Go Layers/Load Save Mask/Load Mask from Disk. Find your mask in the drop
down window. Merge Group
3. Copy and Paste BSD_moom resize 75% and place in top left corner of your image
4. Copy and Paste BSD_frame1. Grab your magicwand and click inside your frame
5. Add new layer drag below your frame layer and floodfill with paper13
6. While your magicwand is still selected copy and paste your tube into selection
7. Copy and Paste BSD_flowerings resixe 75% and place next to your skull
8. Copy and Paste BSD_diybrad resie 75% and drag under your frame layer
9. Add your copyright info and text
10. Merge Visible and Save
That's it..... I hope you have enjoyed my tutorial. If you have any questions please
feel free to leave a message in the Chatbox.
feel free to leave a message in the Chatbox.
This tutorial was written August 2011 by me(Koolbrat) any similarities to another is just a coincidence.
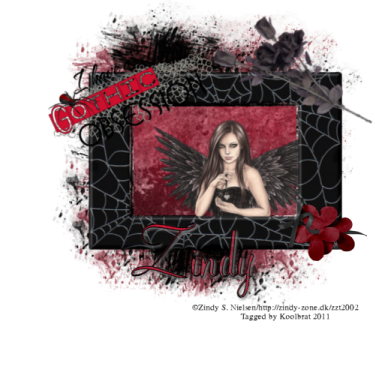
Obsession
Obsession
I am using the amaing artwork of Zindy Nielsen
You can purchase it here:Zindy-Zone
Scrapkit "Gothic Obsession" by Angel's Designe Wonderful kit Angel I had
a wonderful time playing with it.
You can purchase it here:Digifox
1. Open new image 500 X 500
2. Copy and Paste AD_tagback resize 75%
3. Copy and Paste AD_frame1 resize 75%
4. Grab your magicwand and click inside the frame
5. Add new layer and drag below your frame layer
6. Floodfill with paper7
7. While on your paper layer copy and paste your tube so that it is between the 2 layers
8. Copy and Paste AD_blackroses resize 75% rotate 25 degrees left. Then go Image/Mirror
9. Copy and Paste AD_paperflowers resize 30% and place in the lower right corner
10. Copy and Paste AD_wordart resize 75% 3 timesand rotate it 25 degrees left. Place
on the upper left hand side
11. Add your copyright info and Text. I made mine for Zindy
12. Merge Visible and Save
That's it..... I hope you have enjoyed my tutorial. If you have any questions please
feel free to leave a message in the Chatbox.
This tutorial was written August 2011 by me(Koolbrat) any similarities to another is just a coincidence.
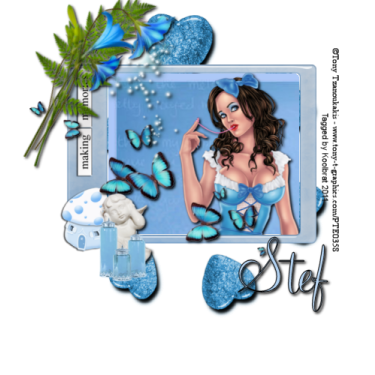
Memories
Memories
Scrapkit "Blue Bubbly World" by Stef
You can purchase it here:Stefsscrapkits
Remember to save often and add your drop shadows
You can purchase it here:Stefsscrapkits
Remember to save often and add your drop shadows
1. Open new image 500 X 500
2. Copy and Paste element 46 resize 75%
3. Grab your magic wand and click inside the frame
4. Floodfill with paper 13 on a seperate layer
5. Copy and Paste your tube under the frame layer but above your paper layer. Add drop Shadow of your liking
6. Copy and Paste element 08 resize to your liking and add the same drip shadow
7. Copy and Paste element 36 resize 30% and place next to the mushroon house. Add the same drop shadow
8. Copy and Paste element 27 resize 30% then 75%. Add same drop shadow
9. Copy and Paste element 24 resize 75% and drag down in your layer palette to right above raster layer 1
10. Copy and Paste element 03 Resize to your liking and place at the top. Rotate 20 Degrees right
11. Copy and Paste element 04 resize to your liking. Go Image mirror. Rotate 20 Degrees right
12. Copy and Paste element 02 resize to your liking again. Rotate 20 degrees right
13. Merge your flower layers down to your fern layer. Add the same drip shadow as before
14. Add your copyright info and Text
15. Merge visible and Save
That's it..... I hope you have enjoyed my tutorial. If you have any questions please
feel free to leave a message in the Chatbox.
This tutorial was written August 2011 by me(Koolbrat) any similarities to another is just a coincidence.
Sunday, August 21, 2011
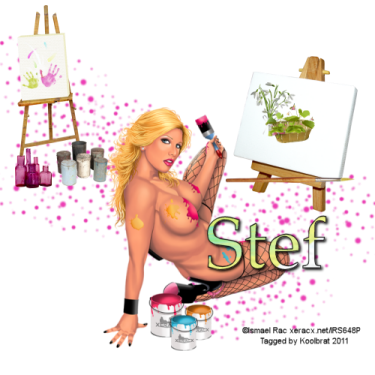
Paint Pain
Paint Pain
I am using the amazing artwork of Ismael Rac
You can purchase it here:RAC
Scrapkit "Painful Days" by Stef
You can purchase it here: Stefsscrapkits
1. Open new image 500 X 500
2. Copy and Paste element 41
3. Copy and Paste element 31 resize 30% 2 times
4. Copy and Paste element 30 resize 30%
5. Copy and Paste element 42 resize it to fit on the canvas
6. Copy and Paste element 57 resize it to fit the canvas
7. Copy and Paste element 20 resize 30%
8. Copy and Paste element 10 resize to fit second canvas
9. Copy and Paste element 02 and resize to fit inside the basket
10. Copy and Paste element 09 resize it to fit the canvas behind the basket layer
11. Copy and Paste element 17 resize 30% 2 times
12. Copy and Paste element 29 resize 30%
13. Add your tube
14. Add your copyright info and Text
15. Merge Visible and Save
That's it..... I hope you have enjoyed my tutorial. If you have any questions please
feel free to leave a message in the Chatbox.
Saturday, August 20, 2011
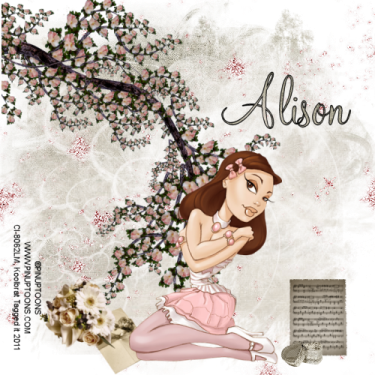
Dream
Dream
I am using the amazing artwork of PinUp Toons
You can purchase it here:CDO
Scrapkit "Dreamerie" by Alison
You can purchase it here:DigiFox
Mask of Choice. I used gemsmasks-119
You can download it here:GEMS
You can download it here:GEMS
1. Open new image 500 X 500
2. Floodfill with paper 10. Go layers/Load Save mask/ Load Mask from Disk. Find your
mask in the drop down window. Merge Group
3. Copy and Paste glitter spill
4. Copy and Paste flowering_branch resize 75%
5. Copy and Paste trinket_box resize 30% 2 times
6. Copy and Paste sheetmusic resize 30% then 75%
7. Copy and Paste love-letter resize 30% then 75%
8. Copy and Paste bouquet resize 30% then 75% 2 times
9. Place your tube
10. Add your copyright info and Text
11. Merge Visible and Save
That's it..... I hope you have enjoyed my tutorial. If you have any questions please
feel free to leave a message in the Chatbox.
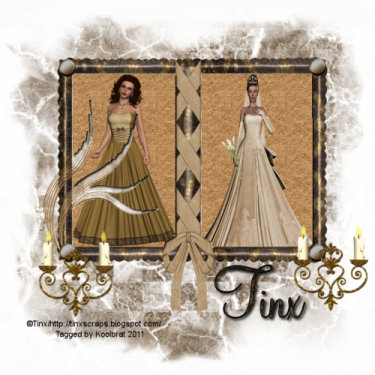
Elegance
Elegance
I am using the amazing artwork of Tinx
Thank you Tinx for the amazing kit and posers
You can purchase it here: Tinx
Mask of choice. I used gemsmasks-115
You can download it here:GEMS
1. Open new image 500 X 500
2. Floodfill with paper 9. Go layers/ load save mask/load mask from disk. Find your mask
in the drop down window. Merge Group
3. Copy and Paste frame 2
4. Grab your magicwand and click inside one side of your frame.
5. Copy and Paste your tube into selection resize if needed
6. Add new layer and floodfill with paper 23 Select none
7. Grab your magicwand again and click in the other side of the frame
8. Copy and Paste your other tube resize if needed
9. Add new layer and floodfill with the same paper as before
10. Merge backgrounds and tubes down to the frame layer
11. Resize 75%
12. Copy and Paste candles resize 75% place on the lower right hand side
13. Duplicate your candles layer and move to the lower left hand side
14. Add your copyright info and Text
15. Merge Visible and Save
That's it..... I hope you have enjoyed my tutorial. If you have any questions please
feel free to leave a message in the Chatbox.
Thursday, August 18, 2011
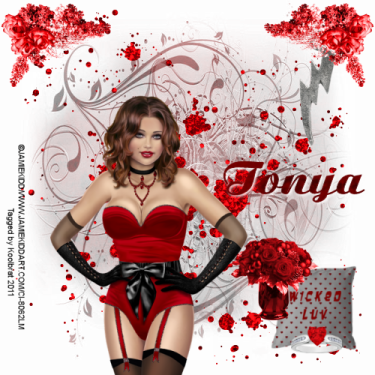
Wicked
Wicked
Scrapkit "A Wicked Kind of Love" by Tonya.
You can purchase it here: BrokenSky Dezine
Mask of Choice
You can purchase it here: BrokenSky Dezine
Mask of Choice
1. Open new image 500 X 500
2. Floodfill with BSD_8. Go Layers/Load Save Mask/Load mask from Disk. Find your mask. Merge Group
3. Copy and Paste BSD_glitter
4. Copy and Paste BSD_pillow resize 30% place in the lower right hand corner
5. BSD_ring reisze it 30% and place in front of the pillow
6. Copy and Paste BSD_roses resize 75% and place next to the pillow
7. Copy and Paste BSD_flowers resize 75% Flip and place int he upper right hand corner
8. Duplicate your BSD_flowers layer and go Image/Mirror
9. Copy and Paste BSD_lightningcharm resize 30% move under your first BSD_flowers layer
10. Add your copyright info and Text
11. Merge Visible and Save
That's it..... I hope you have enjoyed my tutorial. If you have any questions please
feel free to leave a message in the Chatbox.
feel free to leave a message in the Chatbox.
Subscribe to:
Comments
(Atom)
TERMS OF USE
The Tubes in the zip are all made by me(Koolbrat).
:Please do not claim them as your own.
:They are Free for Personal Use Only.
:Please do not Share the files....
:Please do not change the file names.
:Please do not Burn to a CD or DVD or replicate to any other media or fix tangent unless it is for your own personal back up.
:Please do not use to create Brushes, Custom Shapes, Ect.
:Please leave the tubes intact, do not distor in any way.
If you have any Questions. Comment regarding these TOU please email koolbrat@gmail.com
Thank you for your download,
I hope you enjoy them,
Have fun,
Love Koolbrat
***********************
Copyright Notes:
Taggers.
Please add my copyright.
DO NOT use with other artist Tubes,
with the exception of Elements, Frames Ect.
Tutorial Writers.
Please include a credit to me somewhere on your page
(http://bratsplace-koolbrat.blogspot.com/)
Please add my copyright.
DO NOT use with other artists Tubes, with the exception of Elements, Frames ECT.
************************
Labels
- FTU Frames (5)
- My CT Tutorials (137)
- My Tutorials (2)
- News (118)


